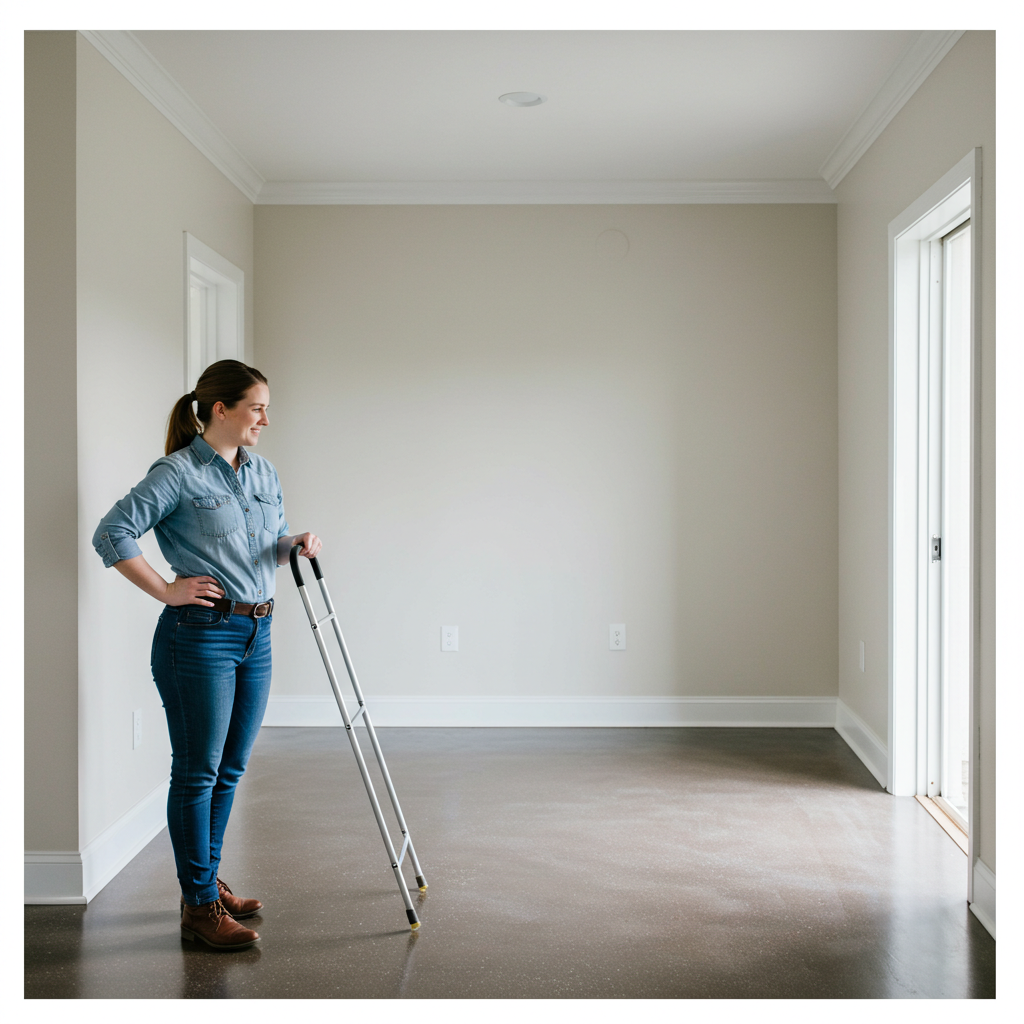
Unlock Your Dream Floors: What to Expect During Epoxy Installation in Tampa
The typical epoxy flooring installation process by professionals in Tampa involves thorough surface preparation, including cleaning and grinding, followed by repairing any cracks or imperfections. Next, the primer coat is applied, then the epoxy base coat, often with decorative flakes, and finally, one or more clear topcoats for durability and shine, ensuring a long-lasting finish.
Epoxy flooring has become a highly sought-after solution for both residential and commercial properties across Tampa due to its exceptional durability, aesthetic versatility, and ease of maintenance. However, for many homeowners and business owners, the actual installation process can seem a bit mysterious. Understanding what to expect during a professional epoxy flooring installation can help you prepare your space, manage your expectations, and appreciate the meticulous work that goes into creating a beautiful, long-lasting epoxy floor. This guide will walk you through the journey of transforming your concrete slabs into stunning, resilient surfaces with Tampa Epoxy Flooring Pros.
What Should I Do Before My Epoxy Flooring Installation in Tampa?
Proper preparation from the client's side is crucial for a smooth and efficient epoxy flooring installation. While Tampa Epoxy Flooring Pros handles the technical surface preparation, there are several steps you can take beforehand to ensure everything goes off without a hitch:
- Clear the Area Completely: This is arguably the most important step. Remove all items from the installation area. For garages, this means cars, tools, storage racks, and any other belongings. For commercial spaces, this could involve moving inventory, equipment, or office furniture. The area needs to be entirely clear so our team has unobstructed access.
- Clean Up Major Debris: While our team will thoroughly clean and prepare the surface, a preliminary sweep or vacuum to remove large debris, dust, and loose dirt can be helpful. This ensures a cleaner starting point for our detailed preparation.
- Address Leaks or Moisture Issues: Epoxy bonds best to dry concrete. If you have any known leaks (e.g., from appliances, pipes, or roof) or significant moisture problems, address them before installation. Our team will perform moisture tests, but resolving existing issues proactively saves time and prevents potential problems down the line.
- Ventilation Considerations: Be aware that epoxy products have odors during application. While our team uses professional-grade ventilation, consider opening windows or planning for air circulation if the area is attached to living or working spaces.
- Plan for Curing Time: Understand that once the epoxy is applied, it needs time to cure. This means the area will be inaccessible for a period, typically 24-72 hours for light foot traffic and longer for vehicle or heavy item placement. Plan for this downtime in your schedule.
- Communicate Specific Needs: If you have any specific concerns, design ideas, or logistical challenges, communicate them clearly with your Tampa Epoxy Flooring Pros representative well in advance. This ensures we can incorporate your preferences and plan accordingly.
By taking these preparatory steps, you contribute significantly to a successful epoxy flooring project, allowing our expert installers to focus on delivering a flawless finish.
What Happens During the Professional Epoxy Application in Tampa?
The actual application of epoxy flooring is a multi-step, meticulous process that requires skill, precision, and specialized equipment. Here’s a breakdown of what our Tampa Epoxy Flooring Pros team typically does:
1. Surface Preparation (The Foundation of Durability)
This is arguably the most critical phase. Epoxy needs a clean, porous surface to adhere properly, ensuring its renowned longevity. Our team will:
- Diamond Grinding: We use industrial diamond grinders to mechanically abrade the concrete surface. This removes old coatings, sealers, efflorescence, and contaminants, while also opening up the pores of the concrete. This process creates a profile that allows the epoxy to bond securely, preventing delamination.
- Crack and Chip Repair: Any existing cracks, spalling, or imperfections in the concrete are meticulously repaired using specialized epoxy fillers or patching compounds. This creates a smooth, uniform base for the new coating.
- Thorough Cleaning: After grinding and repairs, the entire area is thoroughly vacuumed with high-powered HEPA vacuums to remove all dust and debris, leaving a pristine surface ready for coating.
2. Primer Coat Application
A high-quality epoxy primer is often applied first. This coat is designed to penetrate deeply into the concrete, further enhancing adhesion and sealing off any remaining porosity. It acts as a bonding agent, creating a strong foundation for subsequent layers and preventing outgassing from the concrete, which can cause bubbles in the final finish.
3. Base Coat and Decorative Elements
Once the primer is cured (if used), the base coat of epoxy is applied. This is typically a thicker, pigmented layer that provides the primary color and bulk of the system. If you choose decorative options like flakes or quartz, they are broadcast into this wet base coat. The flakes, for example, are generously scattered by hand to achieve the desired density and aesthetic, creating a seamless, attractive pattern.
4. Intermediate and Topcoats
After the base coat and flakes (if applicable) have cured sufficiently, any excess flakes are scraped and vacuumed away. Then, one or more clear topcoats are applied. These topcoats are essential for:
- Protection: They provide a durable, chemical-resistant, and abrasion-resistant layer that protects the colored epoxy and flakes from wear and tear, UV rays, and impacts.
- Finish: Topcoats determine the final sheen (gloss, satin, or matte) and provide a smooth, easy-to-clean surface.
- Longevity: High-performance topcoats significantly extend the lifespan of your epoxy floor, maintaining its appearance and integrity for years.
Each coat requires specific curing times between applications, which our experienced technicians monitor closely to ensure optimal bonding and finish quality.
How Long Does Epoxy Flooring Installation Take in Tampa?
The total duration for epoxy flooring installation in Tampa can vary depending on several factors, including:
- Project Size: Larger areas naturally take longer to prepare and coat.
- Surface Condition: Concrete that requires extensive repair (many cracks, oil stains, existing coatings to remove) will extend the preparation phase.
- Number of Coats: A multi-layer system with primer, base coat, and two topcoats will take longer than a simpler two-coat system.
- Environmental Conditions: Humidity and temperature in Tampa can affect cure times. While our professionals manage this, extreme conditions can sometimes slightly alter timelines.
- Desired Finish: Complex decorative finishes like metallic epoxy or intricate patterns might add to the application time.
Generally, a typical residential garage or a small commercial space might take 2-4 days from start to finish for the application itself. This timeline includes the necessary drying and curing times between coats. However, it's crucial to remember that while the floor might be walkable in 24-72 hours for light foot traffic, it will take up to 5-7 days for full vehicle traffic or heavy use to ensure the epoxy has completely hardened and reached its maximum durability. Your Tampa Epoxy Flooring Pros technician will provide a detailed timeline specific to your project.
What Post-Installation Care is Needed for My New Epoxy Floor in Tampa?
Once your new epoxy floor is installed, a little care goes a long way in preserving its beauty and extending its lifespan. Here are some key post-installation care tips:
- Respect Curing Times: Adhere strictly to the recommended curing times provided by Tampa Epoxy Flooring Pros before reintroducing heavy items, vehicles, or subjecting the floor to harsh chemicals. This initial curing period is vital for the epoxy to achieve its maximum strength.
- Regular Cleaning: Epoxy floors are incredibly easy to clean. For general maintenance, a simple sweep or vacuum to remove loose dirt and dust is usually sufficient. For spills or more thorough cleaning, use a mild detergent (like dish soap) mixed with warm water and a soft mop or squeegee. Avoid abrasive cleaners or harsh chemicals, as they can dull the finish over time.
- Prompt Spill Cleanup: While epoxy is highly chemical resistant, it's always best to clean up spills, especially harsh chemicals, oil, or grease, as quickly as possible to prevent potential staining or etching.
- Avoid Abrasive Materials: Do not use steel wool, abrasive pads, or harsh brushes on your epoxy floor, as these can scratch the surface.
- Use Protective Mats: In areas prone to heavy impacts or where hot tires might sit for extended periods (like under car tires in a garage), consider using protective mats to add an extra layer of defense.
- Address Issues Promptly: If you notice any minor chips, scratches, or other damage, contact Tampa Epoxy Flooring Pros. Often, small issues can be repaired easily if addressed early, preventing them from escalating.
By following these simple care instructions, your professionally installed epoxy floor from Tampa Epoxy Flooring Pros will provide years of stunning, high-performance service.
Understanding the professional epoxy flooring installation process empowers you as a client and ensures a smoother, more satisfying experience. When you choose Tampa Epoxy Flooring Pros, you’re not just getting a new floor; you're investing in a meticulously crafted, durable, and beautiful surface installed by experts who prioritize quality and client satisfaction. Ready to transform your space with a custom epoxy floor? Contact us today for a consultation!
Need Professional Assistance?
Get a free, no-obligation estimate from our expert local team today.